Leather is a natural product and leather holsters need care and maintenance to last. This is a small guide that should cover all the needs of anyone that is looking for tips, tricks and how-to's about leather holsters. This is what you can find here:
3 [Proven] Break-in Methods:
- Leather Holster Break-in With No Chemicals
- Leather Strap Break-in With No Chemicals
- Leather Holster Break-in - Alcoholic Way :)
Does Your Holster Or Strap Need A Break-In?
Holster Cleaning & Scratch Removal:
3 [Proven] Break-in Methods
Sometimes it may happen that you may think we’ve sent you a wrong leather holster, because the gun doesn’t fit inside. Don’t worry, it’s just probably an issue which can be solved via a break-in. It’s a simple process that doesn’t require nothing more than just some household items and patience.
Leather is a natural material that reacts to the environment, the temperature, moisture etc. It also needs some time to get used to anything it’s wrapped around. This is also true for our holsters. It may seem to you, that you've received a wrong one at first, but don’t worry, a simple break-in all that needs to be done. This guide will tell you how to do it.
Leather Holster Break-in With No Chemicals
You will need:
- Your gun
- Our holster
- Plastic Bag
- Patience
Take your gun a put it in a plastic bag, this is done to increase the size of the gun in a small but effective size. Put the gun in the bag inside our holster. This may take a little bit of force, but don’t worry, the plastic bag not only increases the mass but also protects the gun from scratches or other damage. Let the gun in the bag sit in the holster overnight, draw it from the holster and remove the plastic bag. Now you should notice a change in the leather and your gun should fit in more precisely. If it’s still hard to holster the weapon, repeat this process.
It’s important to know, that there should be some sort of retention so don’t overdo the process. The holster will break-in naturally overtime, this is just a way of how to have a usable holster in no time.
Leather Strap Break-in With No Chemicals
You will need:
- Your Gun
- Our Holster
- Some force
Straps really need attention and can't be broken-in in a matter of hours. They need care and sometimes a couple of days if the leather is really sturdy. If you happen to have a problem getting the strap over the gun do as follows: grab the strap in your hand, between the thumb and index finger and while holding the holster at the strap, insert the weapon inside. Push the gun inside and pull thestrap simultaneously in an opposite direction. You can twist and bend the strap for better effect. You can also stretch the strap while there is no gun in the holster, but having a gun increases the mass and force. Note that moving the strap from side to side or twisting it may harm the leather, so be careful! This whole process stretches the strap and seats the gun in the holster. After a while, try to pull the strap around the gun. You should find it easier now. If not repeat the process. Please note: Use reasonable force while pulling on the strap otherwise you can tear it apart. And more importantly while closing the snap be sure that the two parts are centered and coming together smoothly, otherwise you can deform the snaps with pressure and render them useless.
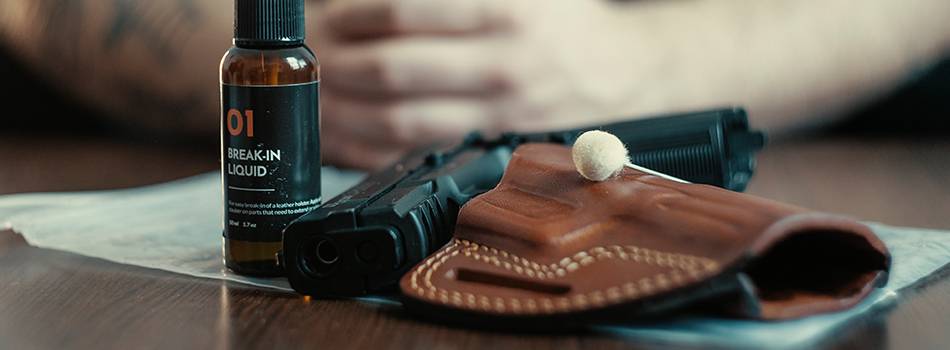
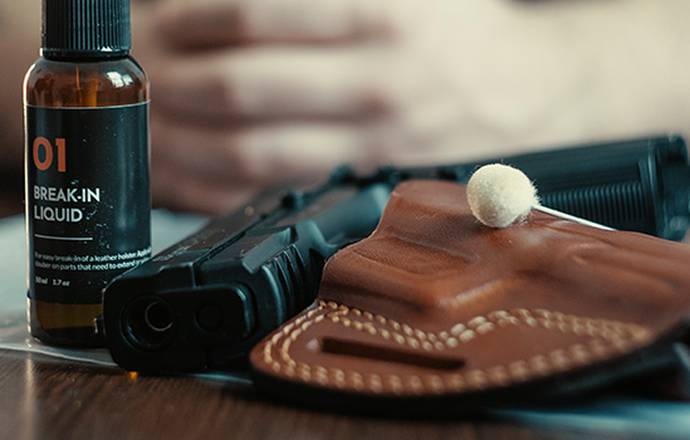
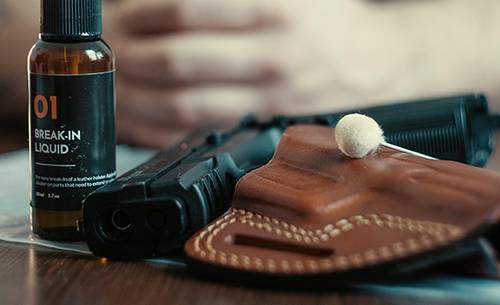
Leather Holster Break-in - Alcoholic Way :)
You will need:
- Your Gun
- Our Holster
- Denatured Alcohol
- Brush
If you want to stretch the snap you can do so with the help of chemicals. For those who wish to read, the process is as follows: soak the brush in alcohol and apply the alcohol to the key points of the holster, which hold the gun inside such as the trigger guard part. Rub the brush there a couple of times and this should do. Remember not to use any dressings, conditioners or mink oil which may soften the holster too much and render it useless. This procedure is all about knowing the exact amount.
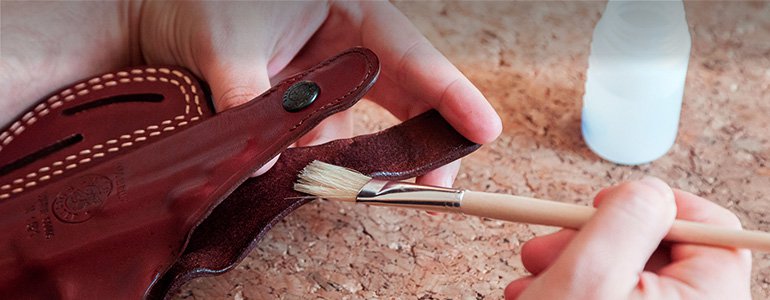
The same method applies to the stretching of the snap. Just brush the alcohol on the inside part of the snap a couple of times and stretch and bend the snap. Pull the snap around the gun after a couple of tries and if it doesn’t stretch repeat the process.
You can do the whole break-in as shown in our video of a leather holster break in with denatured alcohol.
How To Determine If The Holster Needs A Break-in
It may sometimes seem that your holster is definitely too small for your handgun or that the thumb break strap is absolutely short for it to wrap around your handgun. While this may (sometimes) be the case, most of the time it's just a minor issue that a break-in will solve. Before you loose all hope in your new holster check for these indicators that will help you determine if the issue can be solved with a proper break-in (keep in mind stretching fresh leather takes both time and patience). If nothing helps, you can always rely on our customer-friendly returns policy.
Issue #1: The Strap Won't Close / It's Too Short
A strap break-in can stretch the leather of the thumb break strap up to one inch. It takes time and a proper method but the issue can be solved. If you feel like the extra inch on the strap won't be enough to solve your issue then don't hesitate to contact us. Please note: Use reasonable force while pulling on the strap otherwise you can tear it apart. And more importantly while closing the snap be sure that the two parts are centered and coming together smoothly, otherwise you can deform the snaps with pressure and render them useless.
Issue #2: The Holster Is Just Too Small
A break-in will help but let us tell you how to determine if it's really just to small. If you ram your handgun in the holster and there is still some space between the muzzle end and the holster's bottom then you just need to break-in your holster. The leather will loosen up and you'll be able to holster the firearm without any hardships.
Holster Cleaning & Scratch Removal
It’s recommended to clean and care for the outer part of the holster, the inside of the holster should be cleaned only if the objects or dirt are hindering a safe gun draw. The gun itself will shape the interior and doesn’t need any other interventions.
Removing Scratches
Years of wear and harsh environments may lead to scratches on your holster. Some may take it as battle scars and some want to remove them. So in case you want to remove them read more. Identify the type of the scratch before you get to the point of removal.
- A minor scratch means that only the coating was harmed and the leather beneath is not harmed. This is the best case.
- A deeper scratch means that the leather beneath the coating was harmed. The leather fibers may be visible. This is worse than the first one but can be fixed.
- A cut through the leather is the worst part, it goes through the whole holster and a part of the gun is visible. This is the worst part which is non-repairable, but don’t worry, if you are in warranty it’s all ok, just contact us here.
Minor Scratches
Removing minor scratches is relatively easy work and you’ll get used to it if they repeat themselves. You will probably deal with minor scratches most of the times, they are the easiest to repair. The leather ‘heals’ itself in most of the cases so you don’t have to worry about it being unpleasant to the eye.
Method no. 1
Rub some olive oil, baby oil or saddle oil into the scratch. Apply it directly with a cotton-swab applicator or a Q-tip by rubbing it into the scratch. Apply some of the oil also around in a circular motion. Let it rest for an hour then dry it and wipe it with a cloth. If it isn’t repaired on the first try, repeat it. Also please note, that leather absorbs the oil and may become slightly darker.
Method no. 2
Apply lanolin to the scratch and rub it around with a cloth, possibly a cotton one. Rub it across the scratched area, perpendicular to the direction of the cut. This is a lengthy process and will take more time before the scratch disappears. Please note that lanolin also may change the color tone of the holster so rub it firstly on some older leather holster or to an area which isn’t visible.
Method no. 3
Apply shoe polish with a matching color to the surface scratch of the holster. Apply it firstly with a clean cloth or a cotton-swab applicator directly to the scratch on the surface. Then rub the shoe polish onto the leather and remove it with a clean cloth afterwards. Please note that this process won’t heal the scratches, but it disguises them. If you didn’t match the colors at first just remove the applied polish, clean the holster, dry it and apply another layer with a better color tone.
Deeper Scratches
Deeper scratches may take a little longer to ‘heal’ but the leather and holster functionality won’t be affected in any way. Note that the scratch won't be repaired and healed competely, the scratch wil remain visible because the very fiber of the leather beneath the finish was damaged. These scratches are just taken care of with the method below to the point of not spreading or affecting the functionality of the holster.
Method no. 1
Apply rubbing alcohol to the scratch. Be sure to clean the leather before applying the alcohol to maximize the effects of it. Rubbing alcohol dries quickly, so you can repeat the process each 10-15 minutes to achieve your desired look.
Leather Holster Do's and Dont's

We can provide you with any information, but unless you don't have in mind these small yet very important facts, you will find yourself caring and repairing the holster a lot more often. Please have in mind that not only guns need cleaning and maintenance but holsters need it as well.
The things you want to do
- Do clean the holster with a soft cloth and mild soap. A gun holster that comes in contact with perspiration on a regular basis may need to be treated as outlined above as often as once a month
- Do work soap and a small amount of water into the leather and apply to the surface, rub in and wipe off with a soft cloth (once every 3-4 months)
- Do allow the leather to air dry naturally, without any type of artificial heat
- Do use a small amount of a neutral leather cream or a bit of cooking oil to slow the natural breakdown of the leather
The things you don't want to do
- Do not submerge or saturate your leather in water or other liquid, as they will saturate and soften the leather too much. It may cause the holster to lose its shape
- Do not dry your leather product with any type of artificial heat (hair dryer, oven, radiator, direct sunlight)
- Do not leave your leather products on the dashboard of the car in the summer, or leave it otherwise exposed to the elements Following our recommended care tips, will allow you to get the maximum service life from your leather products.
Contact Us If You Still Got Holster Issues
In case you do all the actions mentioned above and your holster outlives the lives of other holsters and yet it seems rugged and about to fall apart just contact us and we'll try to find a solution to the problem.